

Steps you can take to save energy, lower cooling bills, make your home more comfortable and reduce pollution.
Updated

A typical American family spends nearly $2,000 per year on home energy bills. With energy costs skyrocketing, many are reconsidering how they use energy in their homes.
The Inflation Reduction Act contains many rebates and tax credits designed to help Americans reduce their energy use, make homes more comfortable, and reduce our dependence on fossil fuels that pollute the air we breathe inside and outside our homes.
Whether you’re just trying to lower bills or working to “electrify everything” in your home, weatherization is a great place to start.
Some of the steps outlined in this guide can require an upfront cost, but it’s an investment that will pay off in energy savings. Those energy savings mean lower bills, more comfortable living spaces and less pollution because the cleanest energy is the energy you never use in the first place. And by making sure you’re not wasting energy, weatherization can make sure any heating upgrades you may be considering are right-sized for your household’s actual needs.
A home energy audit, sometimes referred to as a “home energy assessment,” is an inspection that assesses how your home uses energy.
During an energy audit, a professional energy auditor will complete a walk-through of your entire house and conduct a few tests to find ways for you to improve your home’s energy use.
Some of the most common tests completed during a home energy audit include:
Once the inspection is complete, the auditor will provide you with a writeup and explanation.
This information can help you understand the whole picture of your home’s energy use, including: how much energy your home uses, where it’s inefficient and which problem areas and fixes you should prioritize. A home energy audit is a sensible first step as you embark on energy-saving home improvements.
Professional home energy assessments provide a thorough analysis of your home’s energy use. An average professional home energy audits costs between $200 and $700 depending on the home’s size and the intensity of the audit. Starting in 2023, the Inflation Reduction Act’s Energy Efficient Home Improvement Credit will cover the cost of home energy audits up to $150.
The Department of Energy offers more tips and guidance on professional home energy assessments here and recommends RESNET or the Building Performance Institute can help you find an energy assessor near you.
A diligent self-audit can help you pinpoint problem areas and prioritize your energy efficiency upgrades. Solar Reviews has developed a DIY energy audit checklist you can download and the Department of Energy also offers helpful guidance for conducting your own home energy assessment.
The most effective way to find air leaks is with a blower door test administered by an energy auditor. This test can help you accurately identify the air leaks in your home.
But you can find air leaks without the test by visually inspecting your home. You can create your own pressurization test to find the biggest air leaks yourself. Here’s how:
A properly air-sealed home also needs to be properly ventilated to keep it safe, healthy and comfortable. The Department of Energy offers resources on ventilation and identifies three basic ventilation options —natural ventilation, spot ventilation, and whole-house ventilation. The “appropriate” amount and type of ventilation varies from home to home so you’ll need to determine what’s right for you as you reduce the air leaks in your home.
Air leaks can waste a lot of energy. Once you’ve identified air leaks in your home, one of the quickest energy- and money-saving tasks you can do is to seal up cracks and openings that let air in with caulk. Here’s how to do that in five easy steps.
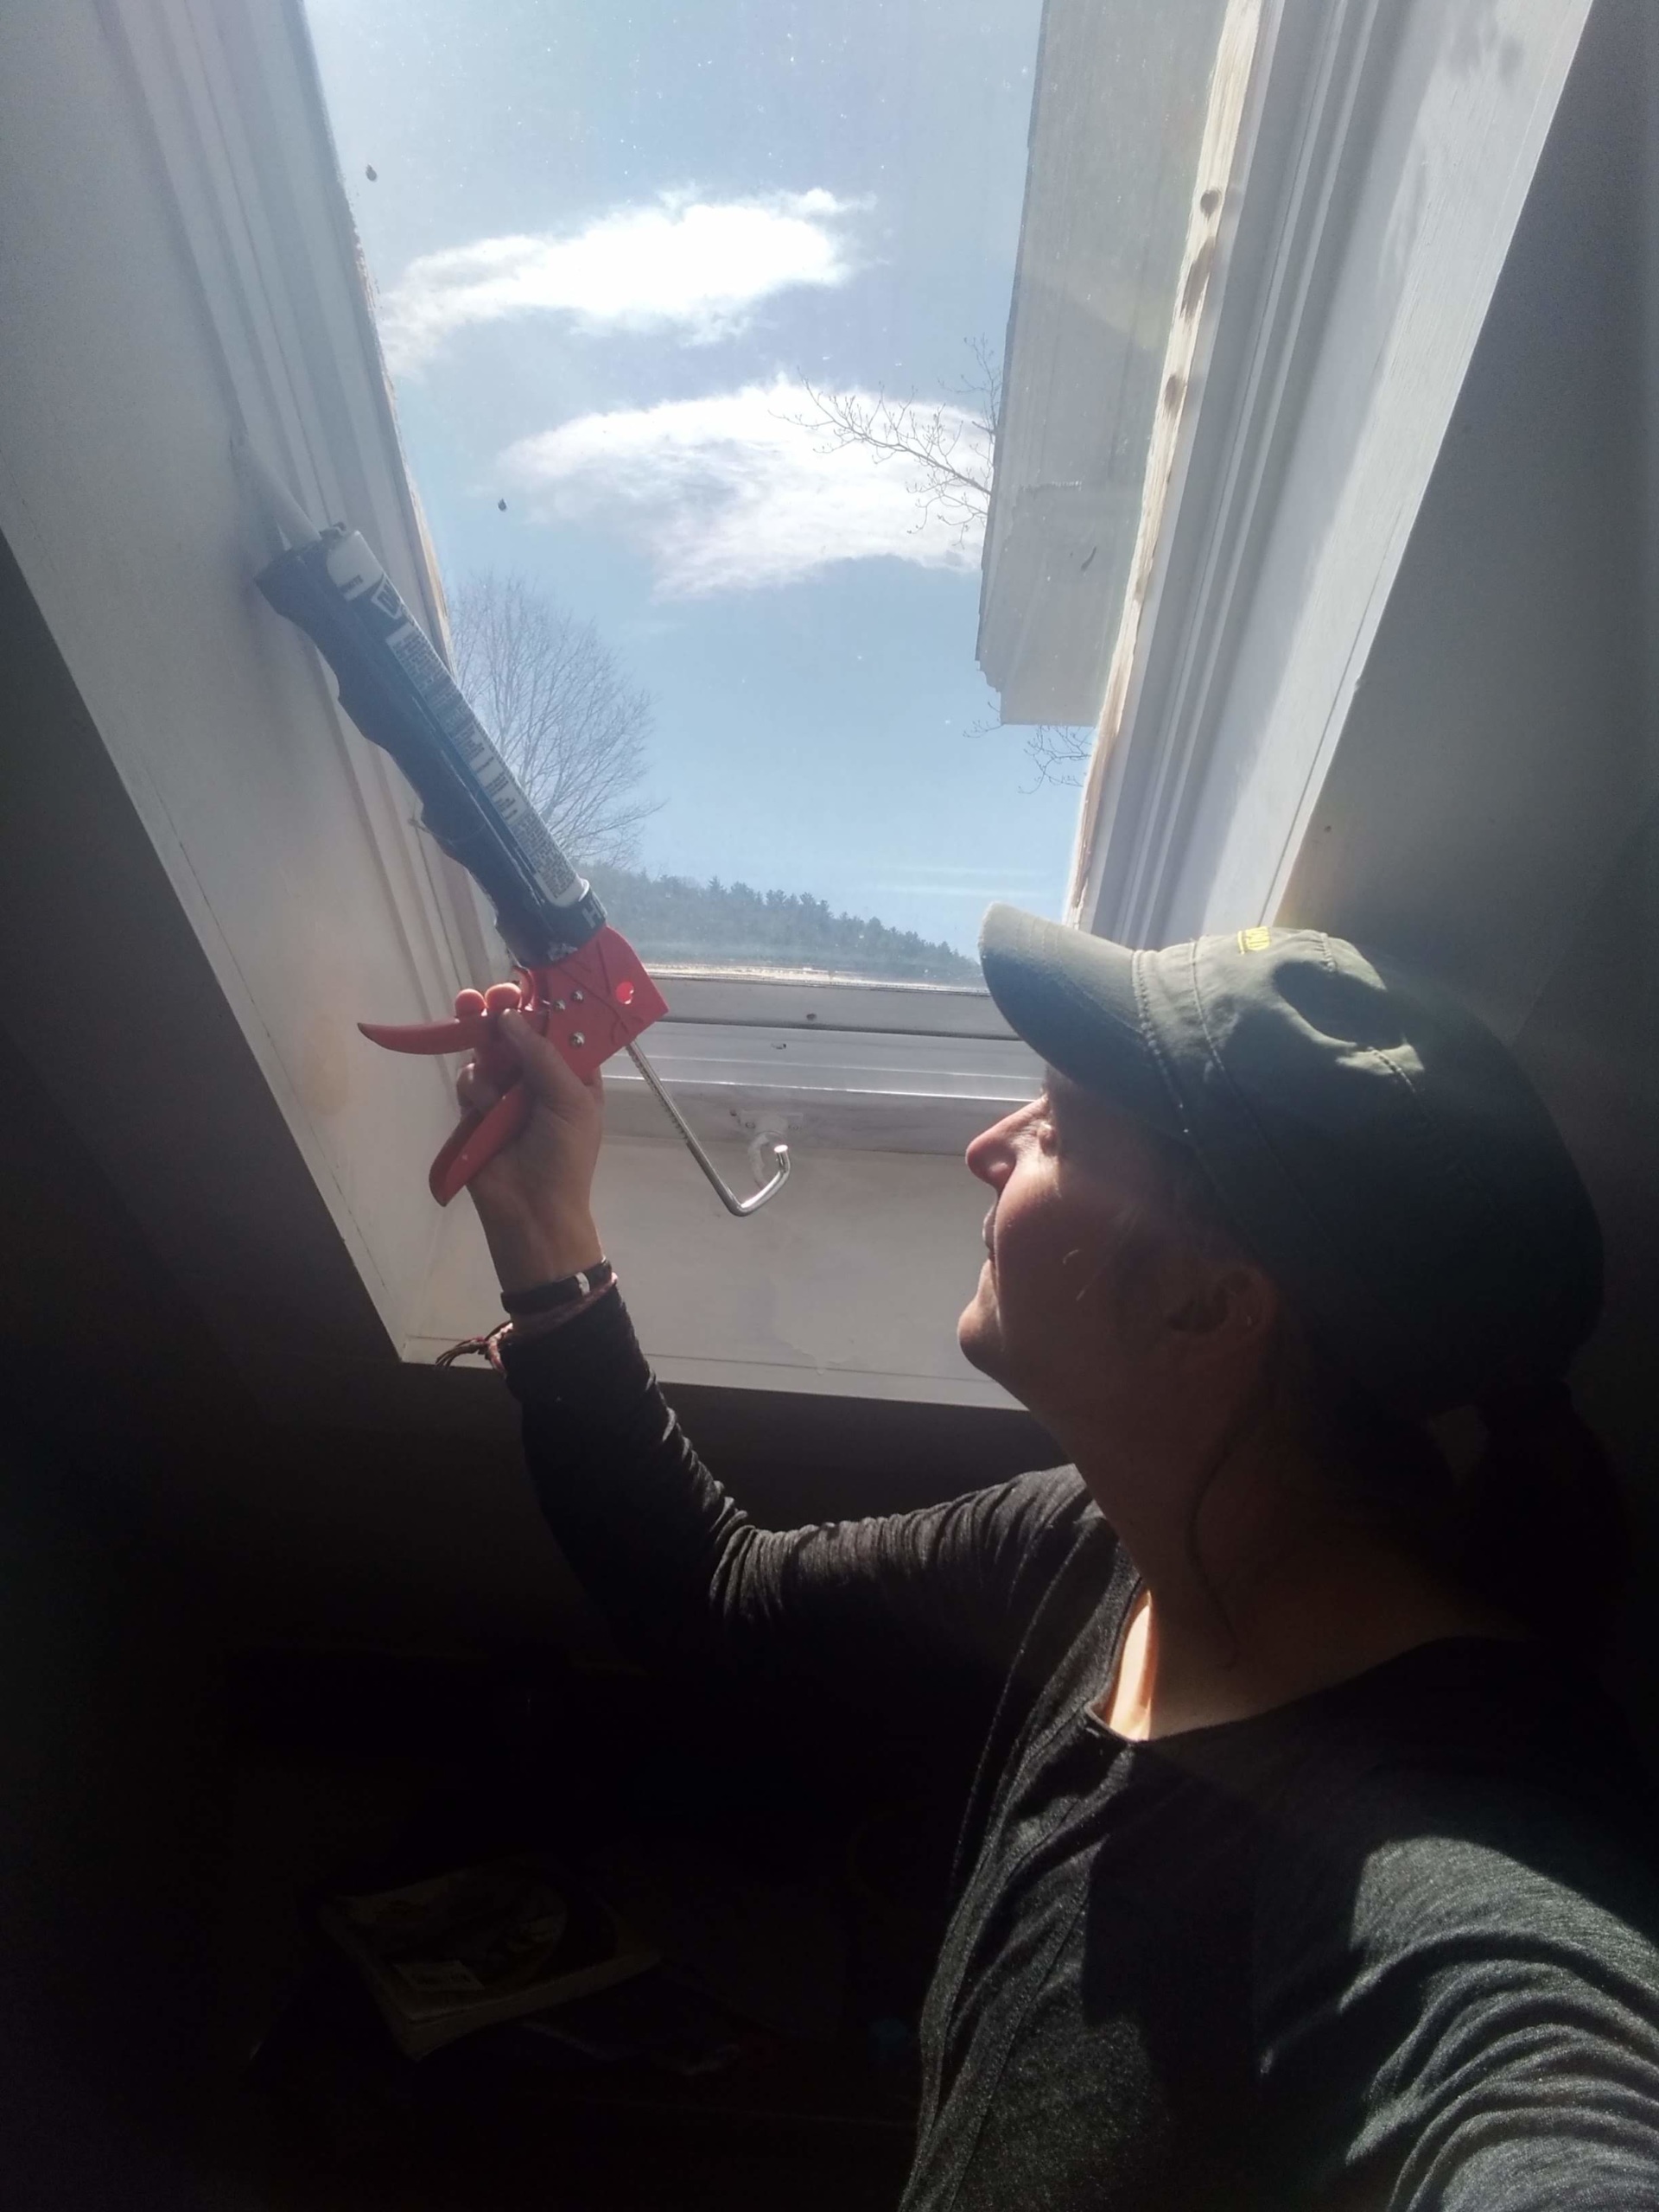
You’ll need something to scrape away old caulk like a putty knife or old flat-head screwdriver, a caulk gun, a tube of caulk and a rag for wiping up.
You’ll want to scrape away any old caulk, dust or debris before you apply fresh caulk. Make sure the area you plan to caulk is clean and dry before you start.
Cut the tip of your tube of caulk at a 45-degree angle and don’t make the opening too big. You can always cut it a second time if you need to make the hole larger.
Run a bead of caulk in the crack you’re working to seal.
By smoothing the surface of the bead of caulk you just applied into the crack with your finger, you help it seal to all sides and the crack.
Weatherstripping is the best way to seal air leaks around windows or doors. Here’s are some simple steps for how to go about it.
The adhesives used on the backs of many forms of weatherstripping will stick best to clean and dry surfaces. You’ll want to make sure to clean the sides of the door or window and the jamb or frame with soap and water and let it dry thoroughly.
You’ll want to install strips on the door jamb around the top, both sides and the bottom of your door. Take careful measurements of your door height and width and write down the measurements.
Grab hold of your door knob and lift the door upwards. If there is play in the hinges and the door moves up, tighten the screws on the top hinge. Then make sure the screws on the bottom hinge are tightly screwed in as well.
You need to answer two questions that will inform how much weatherstripping you need to buy and how wide it should be. The first question is, how wide is the gap between the door and the jamb? This will inform how thick your weatherstripping should be. To get this measurement, measure the door jamb, subtract the width of the door and divide by two. You’ll want to get weatherstripping that can fill that gap when compressed. Next you’ll want to measure the sides and top of your door jamb. Sum up all the totals and add 10% for good measure so that you have enough weatherstripping to complete your project.
You’ll want to choose the right weatherstripping for your project. Wide enough to cover the width of your jamb and thick enough to fill the gap between the door and the jamb. You may also want to purchase a right-sized door sweep that is wide enough to cover the width of your door.
Cut one strip for the top of the door jamb and two for the sides. Better to err on the side of too long than too short. Before you apply your weatherstripping, check the length to make sure it’s not too short.
If the weatherstripping you bought has an adhesive back, peel it away and press the stripping into place on the sides and tops of your door jamb. You’ll want to start in a corner and work your way along. Then install the door sweep. Because the screws that come with a door sweep are often small, you will be well-served to predrill holes using an electric drill. You’ll want to position the sweep so it seals tightly against your threshold.
You want to make sure your sills are in good condition prior to installing weather stripping. Clean the inside edges of the window frame and the bottom of the sash with soap and water and allow to dry thoroughly.
Measure the surfaces you plan to attach weatherstripping to.
Choose weatherstripping that is the same width as your window and thick enough to seal the gaps. Purchase enough weatherstripping to cover the lengths you plan to seal and add 10% to be safe.
Peel away the backing on one end of your weatherstripping and start in a corner and gently push to apply. Close and latch your windows to make sure the insulation compresses to seal out air, but that you can still close your window. It should be snug.
The Department of Energy has put together a step-by-step weatherstripping guide that can help you to weatherize these movable parts of our homes so you can tackle this project with confidence.
Some manufacturers set water heater thermostats at 140ºF when a temperature of 120ºF is usually adequate for most households. In addition to saving energy, the lower setting slows mineral buildup and corrosion in your water heater and prevents scalding.
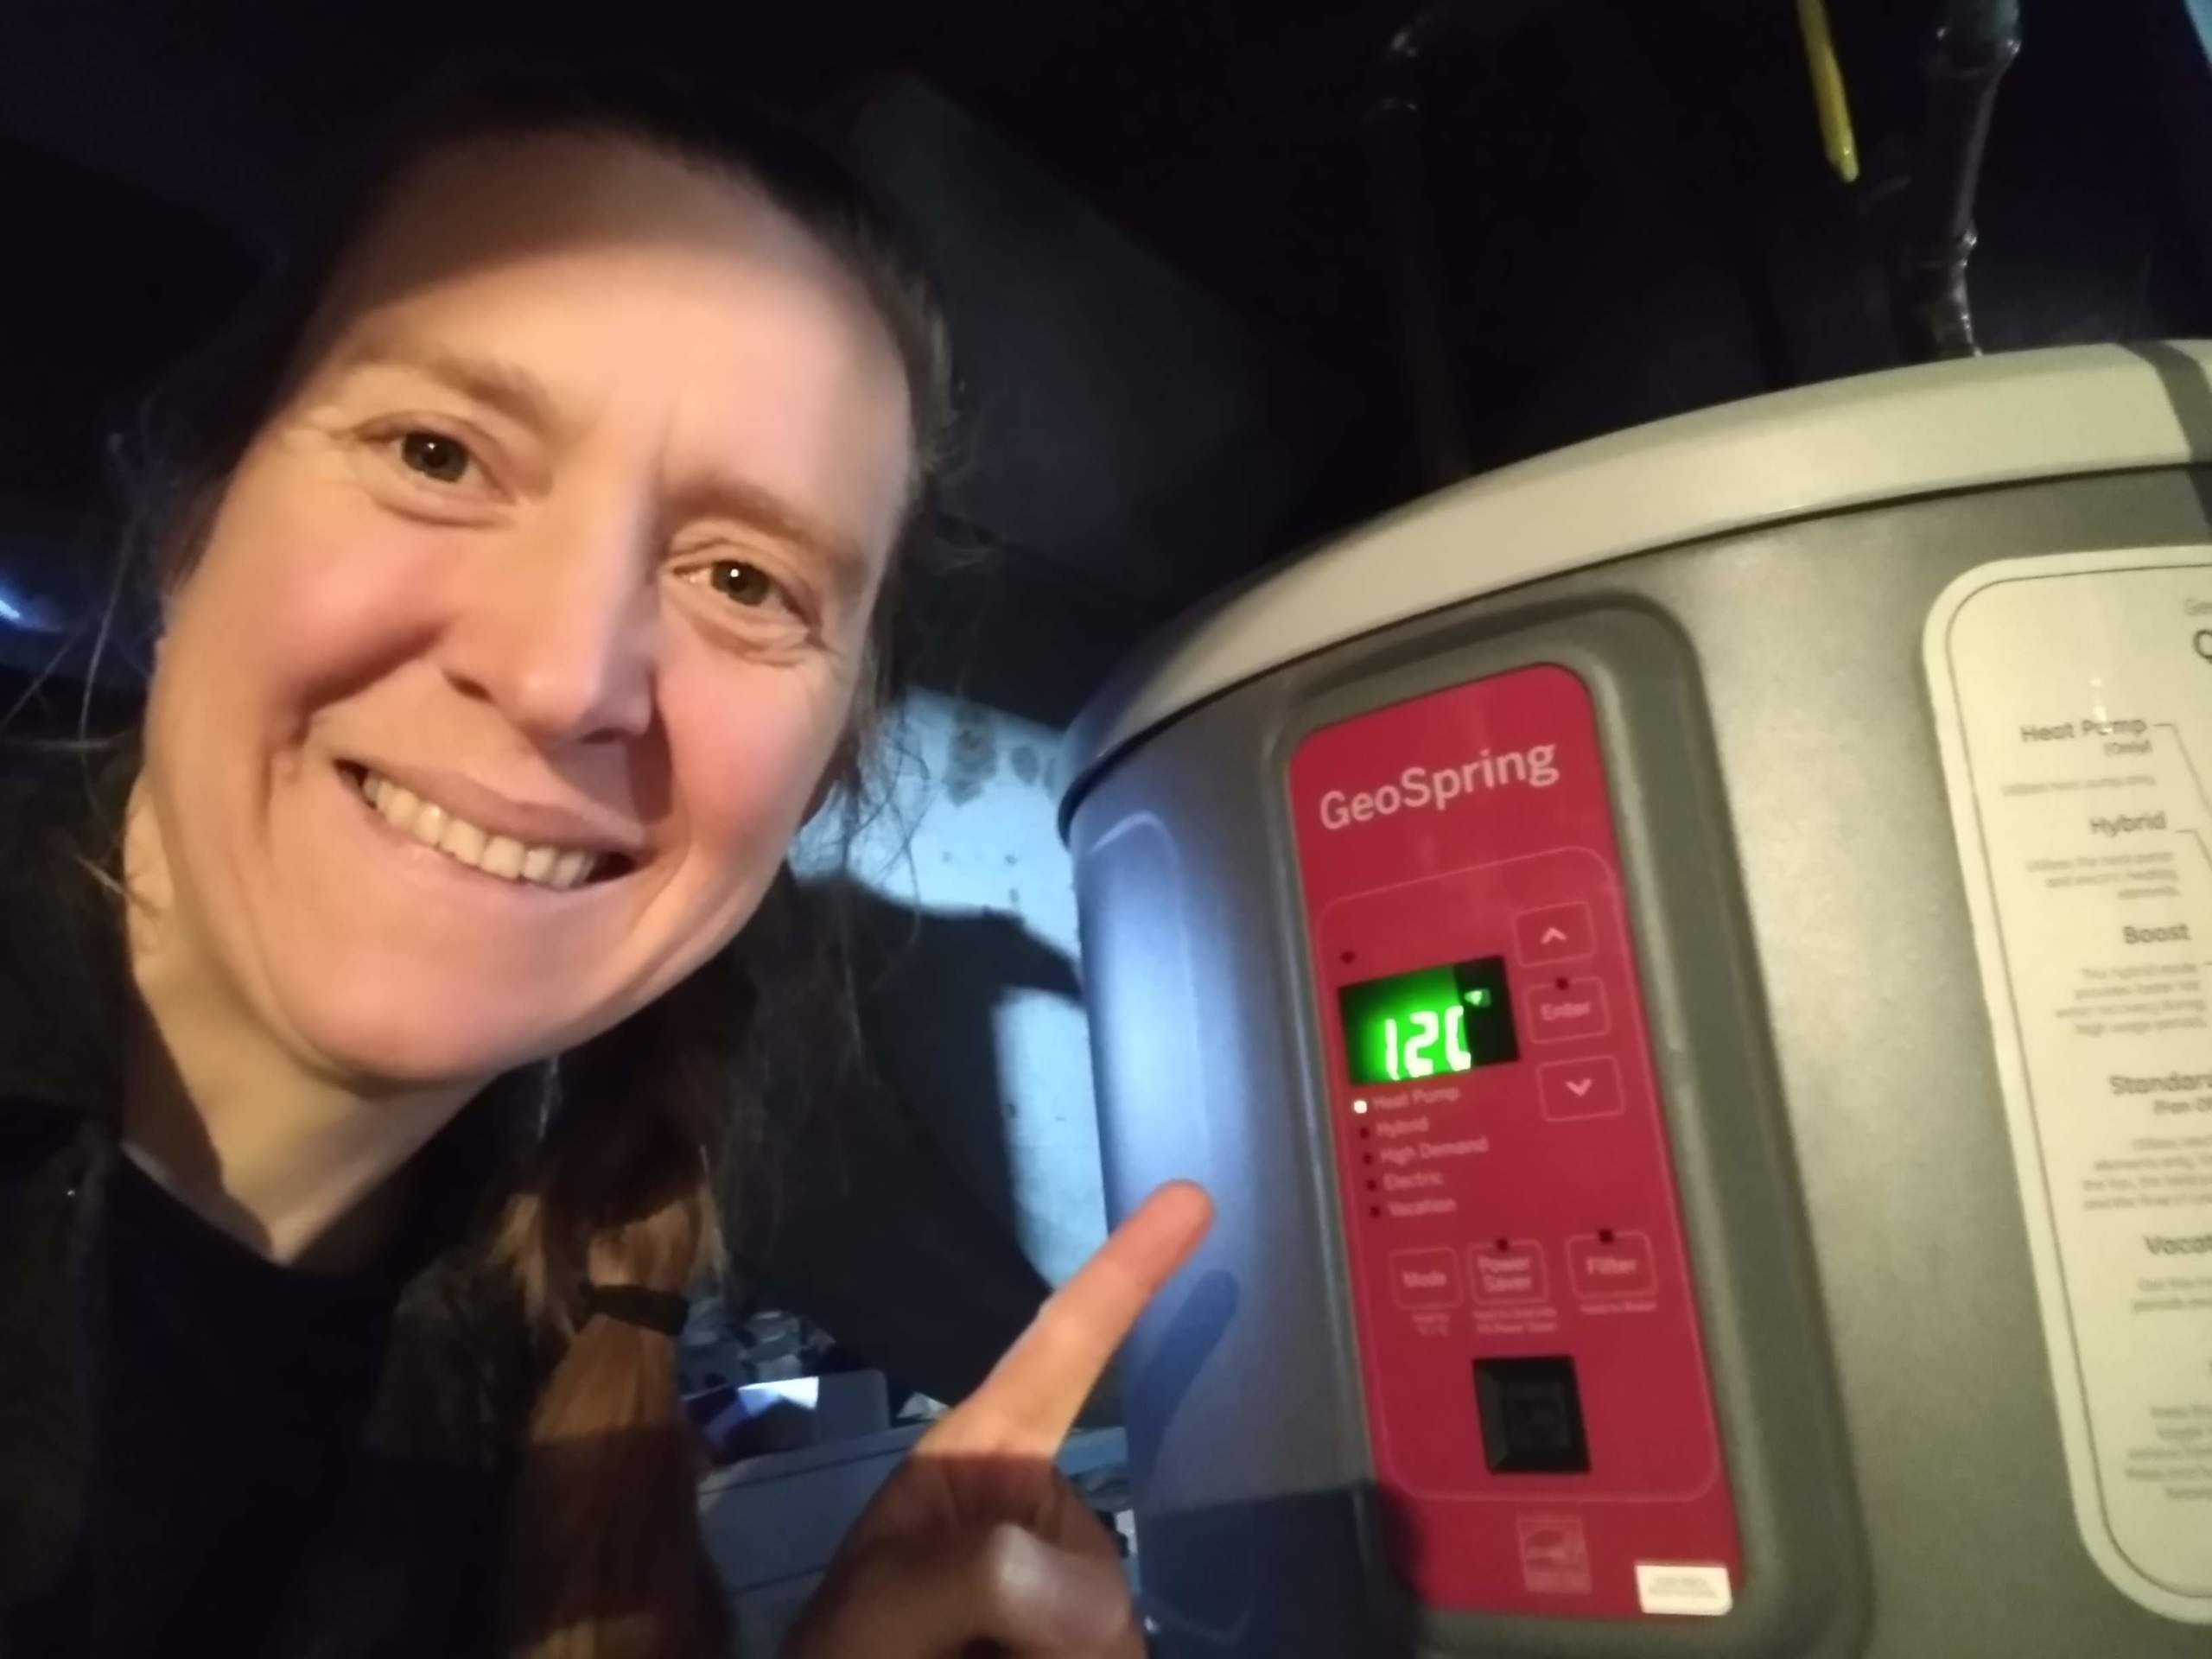
Research how to adjust the temperature on your water heater. Your owner’s manual should have guidance.
You’ll need a thermometer and a marker.
Go to the faucet furthest away from your water heater, run the hot water and measure the water temperature with your thermometer.
Make a mark at that temperature on your water heater’s thermostat. If it’s hotter than 120 degrees, turn down the thermostat.
Wait a few hours to let the water in your water tank come to the right temperature. Then take another measurement. Again, go to the faucet furthest away from your water heater, run the hot water and measure the temperature. Repeat steps 3 through 6 as many times as needed to get your water to the exact right temperature.
Just like insulating your walls or roof, insulating your electric water heater is an easy and inexpensive way to improve energy efficiency and save you money each month.
The Department of Energy has great tips for how to insulate your water heater tank. https://www.energy.gov/energysaver/do-it-yourself-savings-project-insulate-water-heater-tank
Insulating your hot water pipes reduces the amount of heat lost between your water heater and faucet. Properly insulated pipes can keep water temperature 2°F–4°F hotter than uninsulated pipes, which allows you to lower your water temperature setting on your water heater.
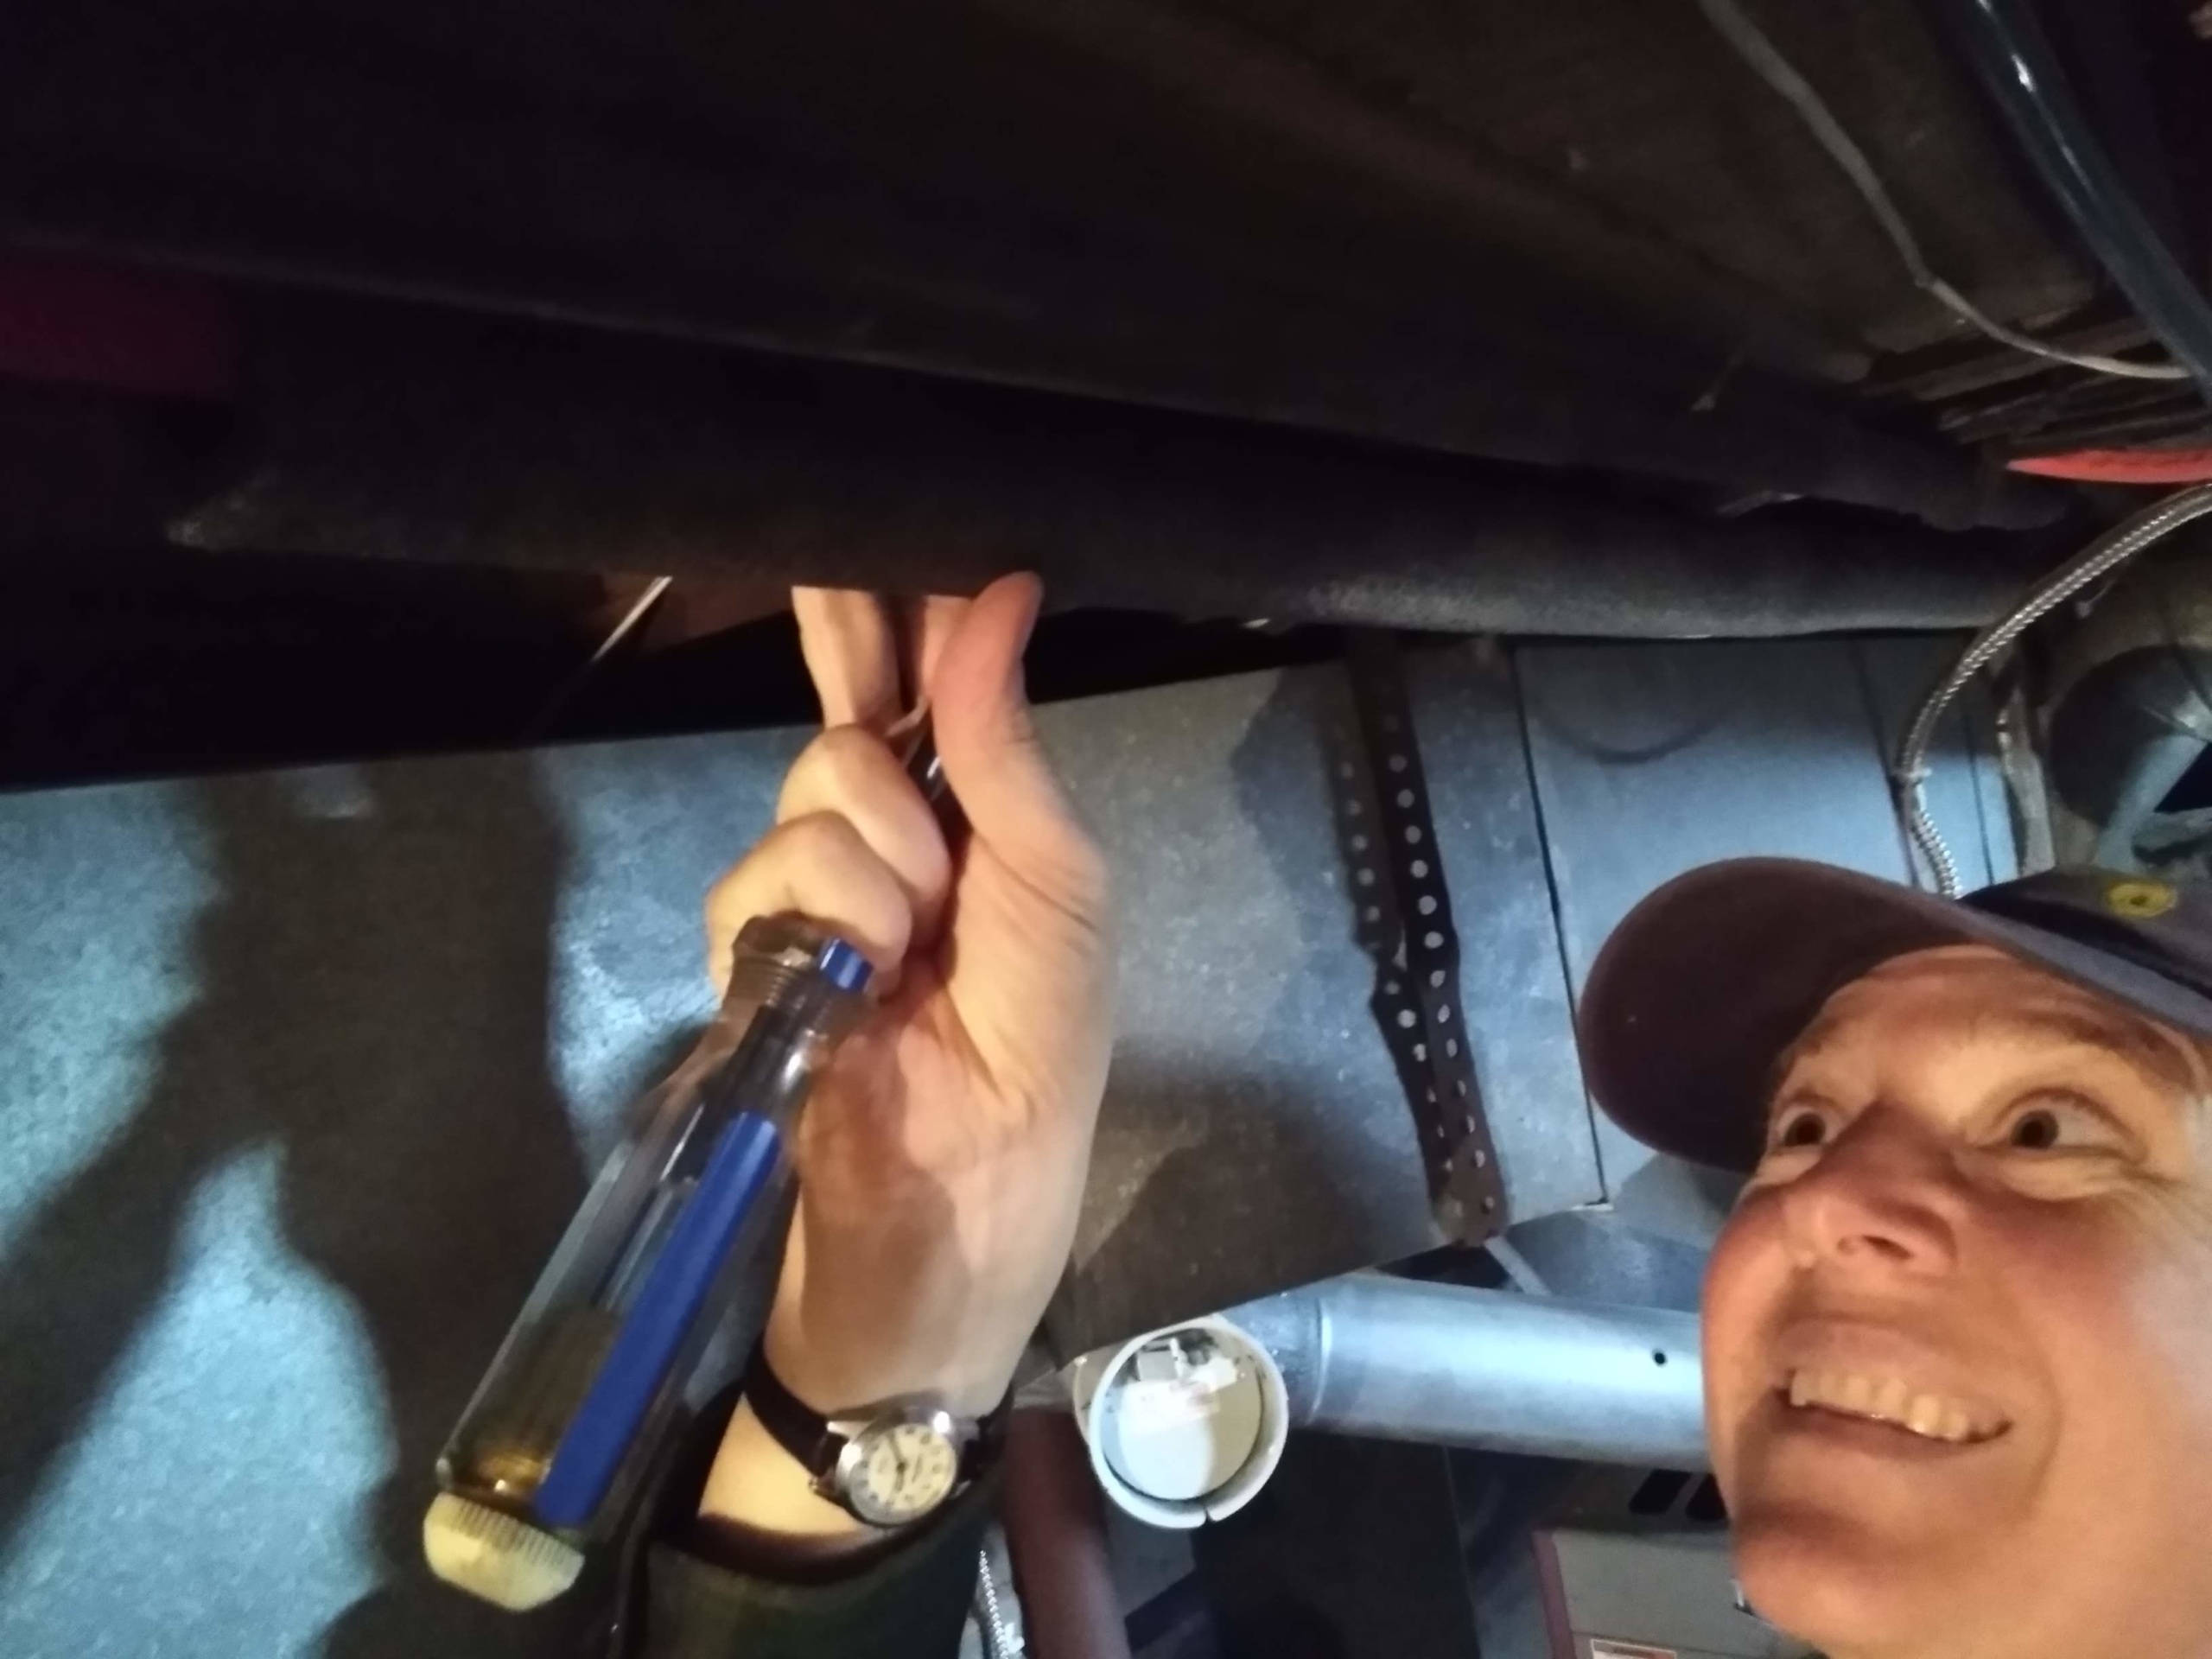
Decide on what insulating material you will use. For electric water heaters, pipe sleeves made out of polyethylene or neoprene foam are most commonly used. For gas water heaters, it’s important to keep insulation at least 6 inches away from the flue for safety reasons. If pipes are within 8 inches of the flue, your safest choice is to use fiberglass pipe-wrap (at least 1-inch thick) without a facing. You can use either wire or aluminum foil tape to secure the fiberglass to the pipe. The folks at the hardware store can help you get the right material for your situation.
Measure the width of your pipes. You want to match the pipe sleeve’s inside diameter to the pipe’s outside diameter for a snug fit.
Measure the lengths of your pipes. You need to measure the amount of insulation needed to cover all accessible hot water pipes starting at the water heater. You want to prioritize the first 3 feet of pipe from the water heater. It’s also a good idea to insulate the cold-water inlet pipes for the first 3 feet.
Go shopping. You’ll want to buy enough insulating material to cover all accessible pipes, as well tape to secure it. If buying fiberglass pipe wrap, make sure you have gloves, long sleeves and long pants and wire wrap to secure the wrapping to your pipes.
Heat rises so placing the seam on the underside of the pipe prevents unnecessary heat loss.
You can tape, wire or cable-tie the insulating material every 1-2 feet to secure the insulating material to your pipes.
Air sealing and insulating between an unheated garage and the heated living spaces above can save energy and money, improve comfort, and safeguard indoor air quality. The Department of Energy offers a guide on how to properly install insulation in this kind of space.
If you have single pane windows, purchasing and installing storm windows can make a big difference on your energy consumption. According to the Department of Energy’s DIY guide on installing storm windows, installing a low-emissivity (low-e) storm window over a single pane window can reduce energy waste as much as replacing the window with a new window.
When replacing inefficient appliances, choose energy efficiency-certified products. Here are some tips for choosing efficient appliances.
ENERGY STAR® is the government-backed symbol for energy efficiency, designed to provide simple, credible, and unbiased information that consumers and businesses rely on to make well-informed decisions.The ENERGY STAR logo is on all qualified products that exceed the federal minimum standards for efficiency and quality — sometimes significantly. Look for the label on appliances, electronics, water heaters, windows, and other products that consume energy in your home.
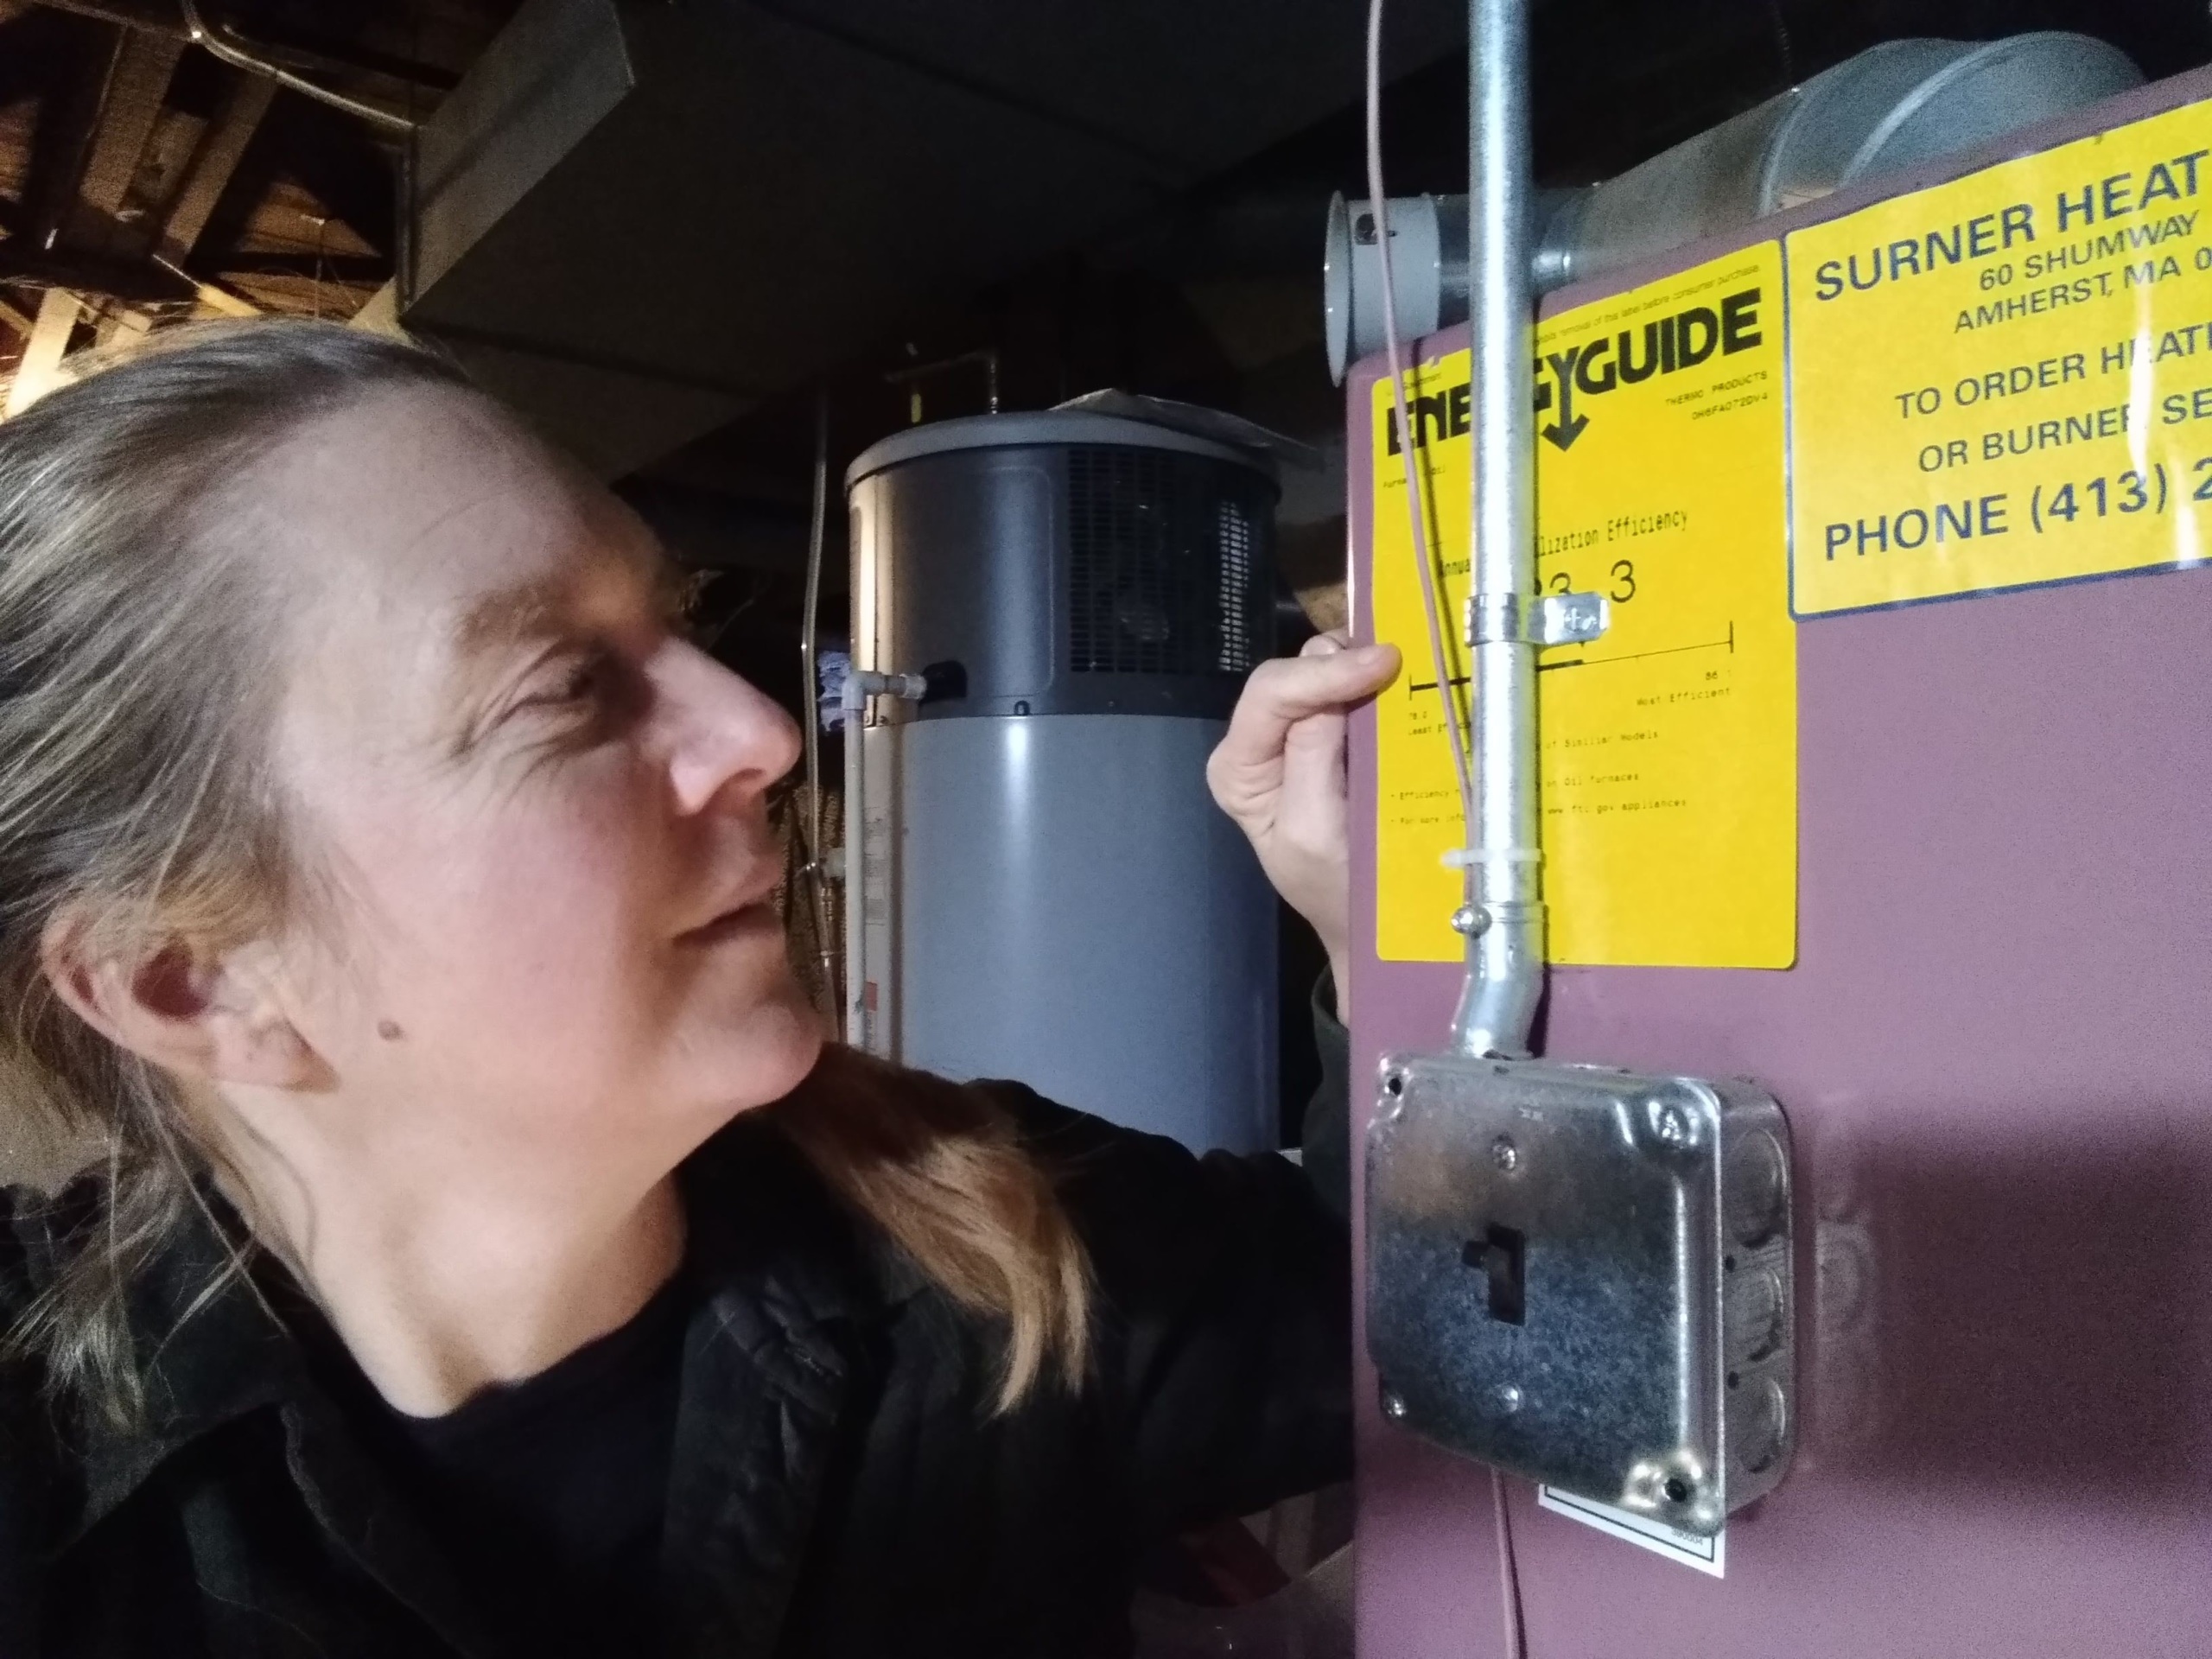
The federal government requires that most appliances display the bright yellow and black EnergyGuide label. These labels will show you the annual energy consumption and operating cost for each appliance so you can compare as you shop.
Some manufacturers now offer “smart” appliances — appliances that can be connected to or controlled by smart electric meters or home energy management systems to help you shift your electricity use to off-peak hours, when power may be more affordable.
Smart appliances don’t just turn off during times of peak electricity demand — instead, they use subtle ways to shift energy use. You might not even be aware of it. For example, your air conditioner may run slightly less often, or your water heater may adjust its heating cycle to operate when energy costs are lower, without impacting their performance.
Most home appliances that burn fossil fuels – like furnaces, boilers, gas water heaters, dryers or cook stoves – are less efficient and pollute more than their all-electric counterparts.
Electric appliances and equipment are typically much more efficient than those powered by fossil fuels, and draw their power from a grid that incorporates more clean, renewable energy with every passing year. That makes “electrifying everything” one of the most powerful things most of us can do to make our home a clean energy home.
Now is the time to commit to electrifying something. Maybe the thing you choose to replace is an older piece of equipment that is on its last legs like an old furnace, a water heater, or gas stove. Or maybe it is something smaller like induction cooktops and window-unit heat pumps that cost only a few hundred dollars each. Whether your electrification project is big or small, the most important thing is to commit to starting somewhere.
Many households are perfect for solar panels, and there are even local solar options available for renters or others who can’t install their own system. We partner with EnergySage to bring you online tools and resources that make it easy to explore your local solar options.

Big home energy upgrades such as replacing a heating system or installing solar panels require a lot of homework – identifying contractors, soliciting bids, and determining what kind of equipment best suits your needs. Make sure to leave plenty of time – with rising demand and many contractors still unfamiliar with technologies like heat pumps, there is no guarantee that a contractor will be available the moment you want them.
Electrifying everything in a home requires being able to deliver enough electricity to all those new appliances. For owners of older homes, though, this can be a problem, as older electrical service panels may not be designed to handle the additional load.
The Inflation Reduction Act contains many rebates and tax credits to help Americans reduce their energy use. These credits lower the cost of weatherization and electrification projects so you save even more. U.S. PIRG Education Fund offers a great explainer on what the tax credits and rebates are in the Act, what they cover and how they will be administered. Some of the tax credits will be available for any project completed after January 1, 2023. Others are on a different timeline because they will be administered by the states.
For example, the law’s High-Efficiency Electric Home Rebate (HEEHR) Program provides point-of-sale consumer discounts to enable low- and moderate-income households across America to make their homes more efficient with electric technologies. This program offers point-of-sale rebates as immediate discounts when making qualifying electrification purchases.
Households making less than 80% of the area median income are eligible for having 100% of their costs covered and moderate income households are eligible to have 50% of their costs covered. Rewiring America has created an IRA Savings Calculator
to help households determine their eligibility for these rebates. Qualifying households can expect the following rebates, which will be administered by state energy offices.
The U.S. Department of Energy’s (DOE) Weatherization Assistance Program (WAP) is administered at the state and local level. For information on the Weatherization Assistance Program and how to apply in your state, click here.

Senior Director, Campaign for 100% Renewable Energy, Environment America Research & Policy Center
Johanna directs strategy and staff for Environment America's energy campaigns at the local, state and national level. In her prior positions, she led the campaign to ban smoking in all Maryland workplaces, helped stop the construction of a new nuclear reactor on the shores of the Chesapeake Bay and helped build the support necessary to pass the EmPOWER Maryland Act, which set a goal of reducing the state’s per capita electricity use by 15 percent. She also currently serves on the board of Community Action Works. Johanna lives in Amherst, Massachusetts, with her family, where she enjoys growing dahlias, biking and the occasional game of goaltimate.